FoodSaver® Vacuum Sealer 101: A Quick Guide
When you buy through our links, That’s My Home may earn an affiliate commission. Learn more
It perhaps is a little daunting for a person who is completely new to the FoodSaver® line of products to use the vacuum sealer. After reading this, however, an alien from Mars will be perfectly able to use the Vacuum sealer, at least for its most basic function: vacuum sealing food products. But first, let us go through some basic tips on how to care for the device itself; after all the knowledge on how to use a device will be of little use if the machine is not functional.
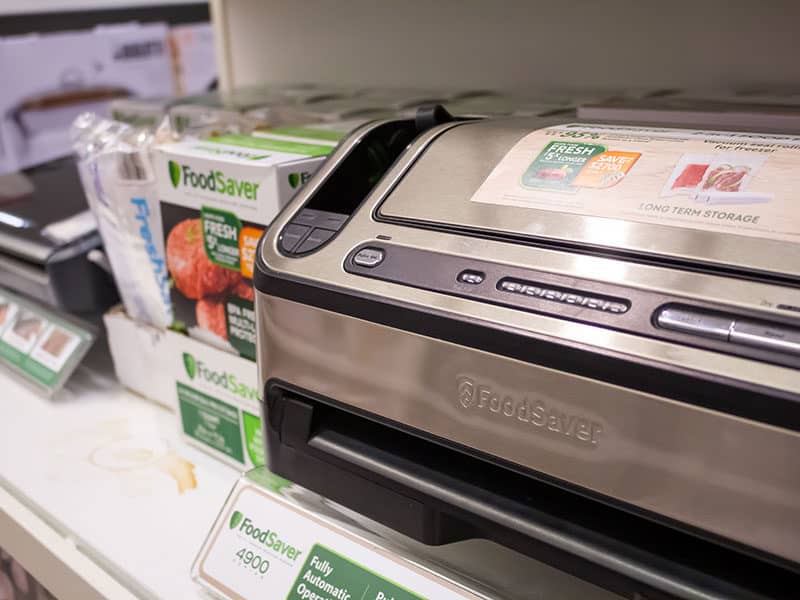
Precautions when using a FoodSaver® appliance:
- Refrain from using an appliance on wet or hot surfaces or near heat sources.
- Do not immerse the appliance or its part in water or other liquids.
- Use each appliance only for its intended purpose.
- Do not continue to use appliance when it is damaged or has a damaged power cord or plug.
- Wait 20 seconds between seals to give time for the appliance to cool.
After reading these safety precautions, you must ensure that you read and heed the instructions that are supplied along with the appliance by the manufacturer. The next step is to familiarize with the parts of the appliance, also made possible by the manufacturer. Thereafter, you are ready to apply your new device and see the results.
Making a bag from a FoodSaver® Vacuum Sealing Roll
- Open appliance door and place the roll into the Roll Holder. It is recommended that you insert roll with material flap down.
- Lift up Roll Cutter Bar and place the bag material beneath the cutter bar.
- Pull out enough bag material to hold the item being vacuum sealed and an additional 4 inches.
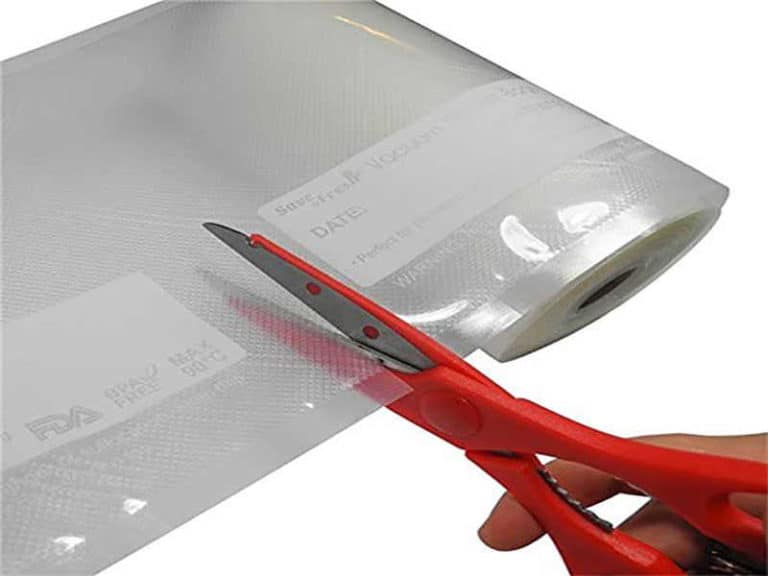
- Lower the Roll Cutter Bar and slide Bag Cutter across the Cutter Bar.
- Press Seal Button and the Red Seal Indicator Light will come alight.
- Use both your hands to slowly insert the open end of the bag, curl down, into the Vacuum Channel until the clamp motor starts.
- When red Seal Indicator Light turns off, the sealing process is complete. Remove your bag from the Vacuum Channel.
- You have successfully sealed one end to make your bag and are ready to proceed to vacuum sealing.
Vacuum Sealing with a FoodSaver® Vacuum Sealing bag
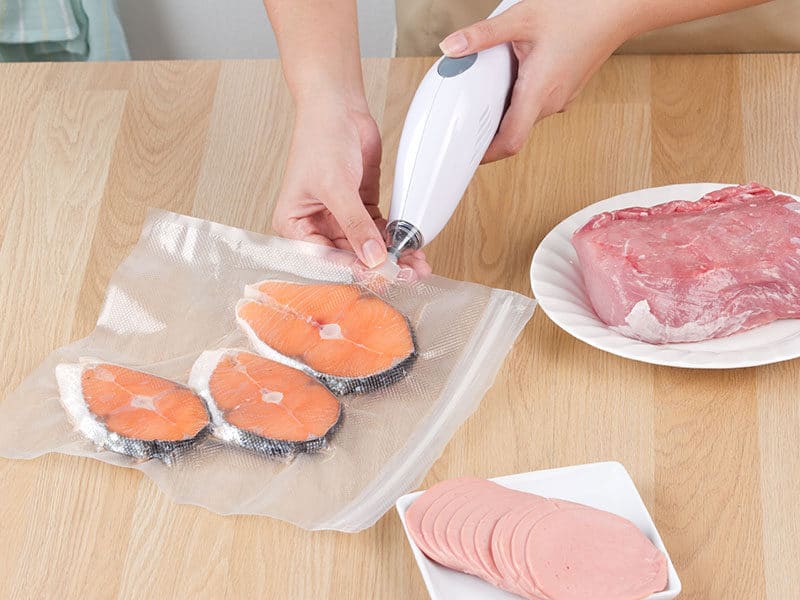
In this process, you use the sealing bag prepared by the above procedure.
Before commencement it is important to note the following:
The appliance should also be vertically oriented and not laid on its back while in use. It may also time out after a couple of minutes if the vacuum cannot be reached.
The sealing Procedure:
- Place the items you would like to seal in the bag, leaving at least a 4 inch allowance of space between bag contents and top of the bag that will allow the bag to seal tightly all around its contents.
- The FoodSaver® Vacuum Sealer allows you the option to customize the vacuum sealing process if you so wish. You may select Food Setting using the adjustable food setting function. Press adjustable food settings button until you see the moist indicator light come on. The default setting is Dry Food which is for foods without liquids, but you can adjust this setting accordingly. The moist food indicator, however, flashes should the Food Sealing Sensors detect moisture in the drip tray.
- The FoodSaver® System Automatically Vacuums and seals the bag. To Vacuum you are strictly instructed NOT PRESS THE SEAL BUTTON.
- Instead, use two hands to slowly insert the open end of your bag, curl down, into your Vacuum Channel.
- Continue to hold the bag until you make sure that the vacuum pump has started. You may now release bag. The Vacuum Progress lights will illuminate. It is important to highlight at this juncture that if you are selling delicate items, you can press the seal button at any time to begin the selling process and thereby prevent them being crushed.
- Finally, the red Seal Indicator Light will turn off to indicate completion of the sealing process, after which you may remove your items and refrigerate or seal them as is appropriate.
It is important to reiterate at this point that you should allow 20 seconds in between seals to allow the sealer to cool properly.
Using FoodSaver® Vacuum Sealing Accessories
The FoodSaver® Vacuum sealer allows users to package food not just in bags, but also in some accessories from FoodSaver® as well.
Containers
- Prepare the container for use in accordance with the FoodSaver® Accessory Guidelines included along with the accessory with purchase.
- When it is ready, pull the Retractable Hand Held Sealer from the FoodSaver® appliance. Place its end over the gray valve on the container.
- Push the accessory button on the appliance to begin the vacuum process. The motor will run until the vacuum process is complete.
FreshSaver® Zipper Bags
- Place the food you wish to vacuum seal in the Zipper Bag. Make sure you do not put any food under the valve then press the zipper closed with your finger while the bag is lying on a flat surface.
- Pull Retractable Hand Held Sealer from the appliance and place the end over the gray valve on the bag.
- Push the accessory button to begin the vacuum process. The motor will run until the vacuum process is complete.
Canisters
- Prepare the canister as per the manufacturer’s Guidelines.
- Pull the retractable hand held sealer from appliance and remove the clear bottom portion of handheld from the top handle. Insert the end into the port on accessory while twisting the tab to ensure a tight fit.
- Push the Accessory Button to begin the vacuum process. The motor will run until the process is complete.
- Finally, the motor turns off at which point you should gently twist and remove the Handheld Sealer from your accessory.
- When using a knobbed canister, fix the knob to the “Closed” position by rotating in a clockwise manner, gently remove the sealer from its accessory.
- Tug on the accessory’s lid to test the vacuum; it is not supposed to move when you do so.
- To pull your Hand Held Sealer back, the procedure is to pull gently on the hose’s end while holding the vacuuming appliance to allow the hose to retract into the appliance. Do not release freely as it may damage the Handheld Sealer. When pulling the hose, take care not to extend it beyond the red line marked on the hose.
I trust that with this information you will be able to go about using your Vacuum Sealer with no problems at all.



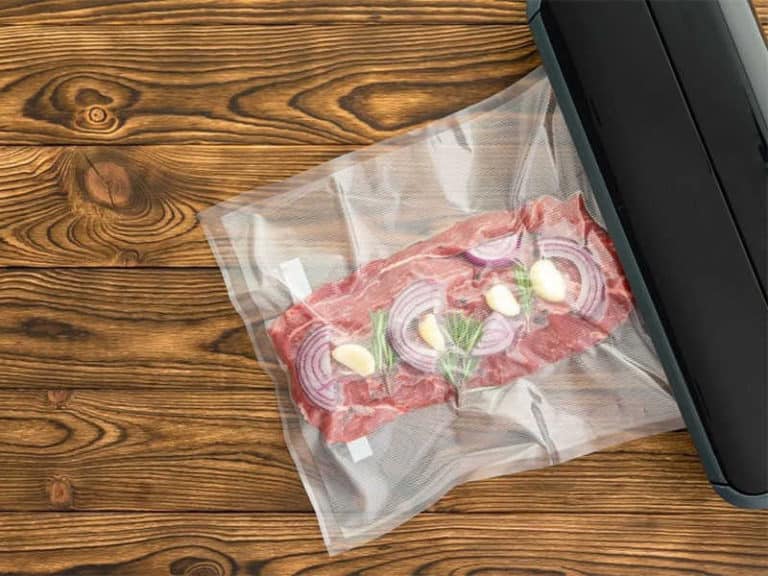
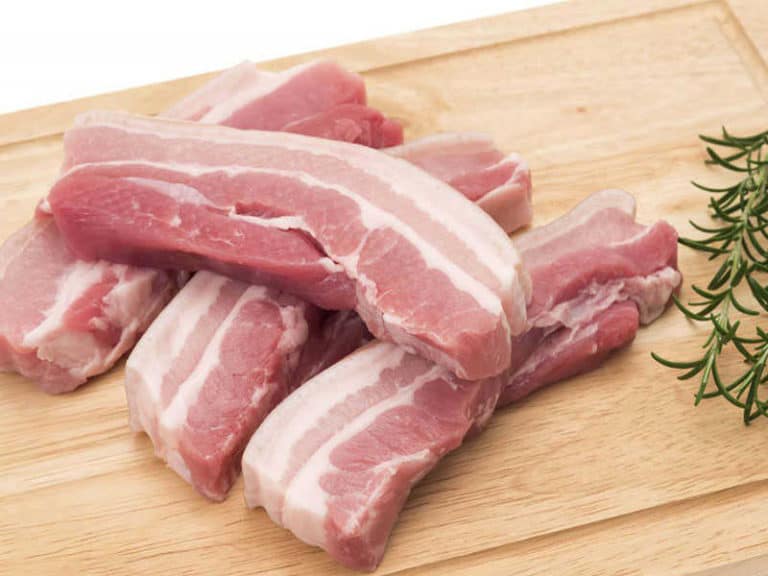
I have a question and I hope it is not a stupid one. What is the process for removing meat that has been vacuum sealed? Does the bag open up as the meat is defrosting? I love my machine and I cannot figure this out, Please advise.
Thank you.
Dear Frederich,
Fist of all thanks for contacting me.
Better safe than sorry, so no, your question is not silly. The bag does not open it self during the defrosting period. You just need to cut it open.
Hope this helps.
Kind regards,
Marry