How to Clean a Flour Sifter: Top 7 Methods
When you buy through our links, That’s My Home may earn an affiliate commission. Learn more
Don’t throw away your old sifter, learn how to clean a flour sifter, and start using it again. A flour sifter is a useful kitchen tool that ensures you smooth the flour texture and mix it better with other dry ingredients.
When it gets dirty, it loses its purpose and can be challenging to clean.
Cleaning it in the sink might get counterproductive, as flour leftovers may clump together and become even harder to clean.
Even though flour sifter isn’t required for all recipes that include flour, it can make a subtle difference in dough texture. Experienced chefs always sift the flour to ensure the best consistency.
In this article, you will learn different methods to clean a flour sifter and when you should give up and buy a new device.
Let’s learn more about this useful kitchen tool.
What Purpose Does Flour Sifter Serve?
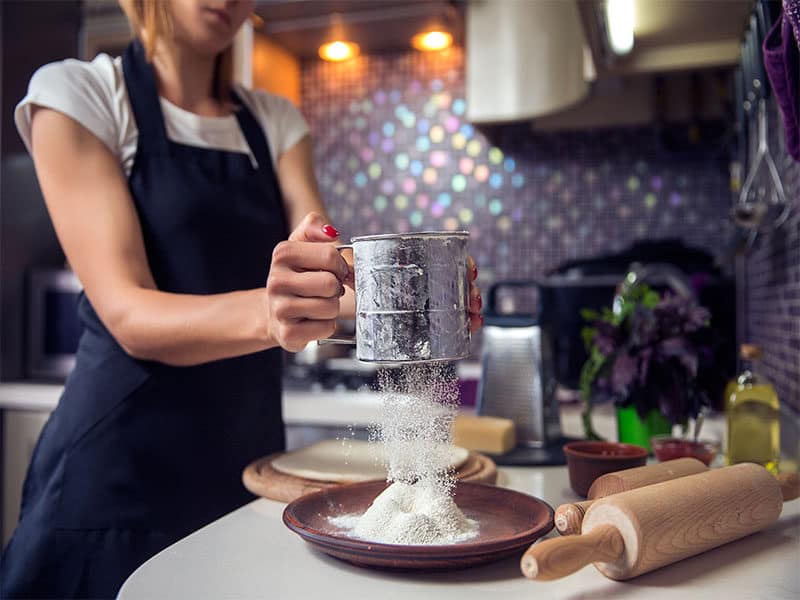
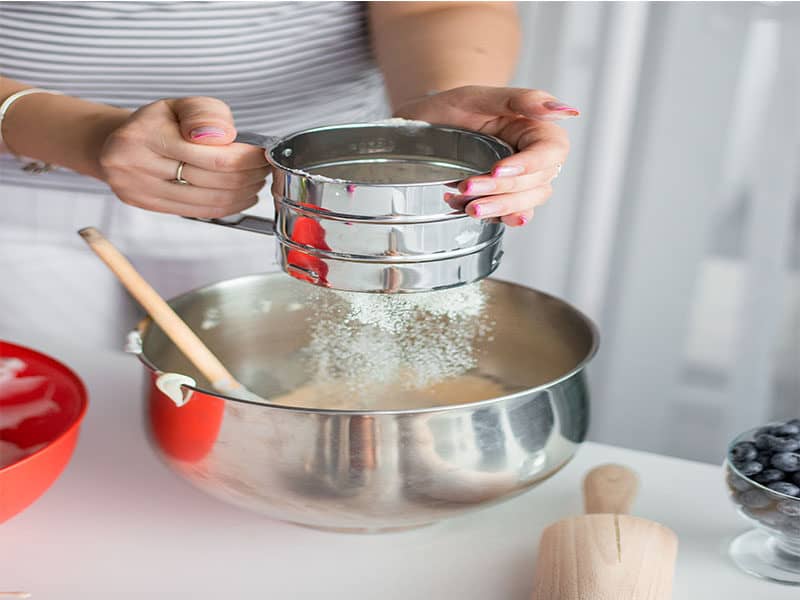
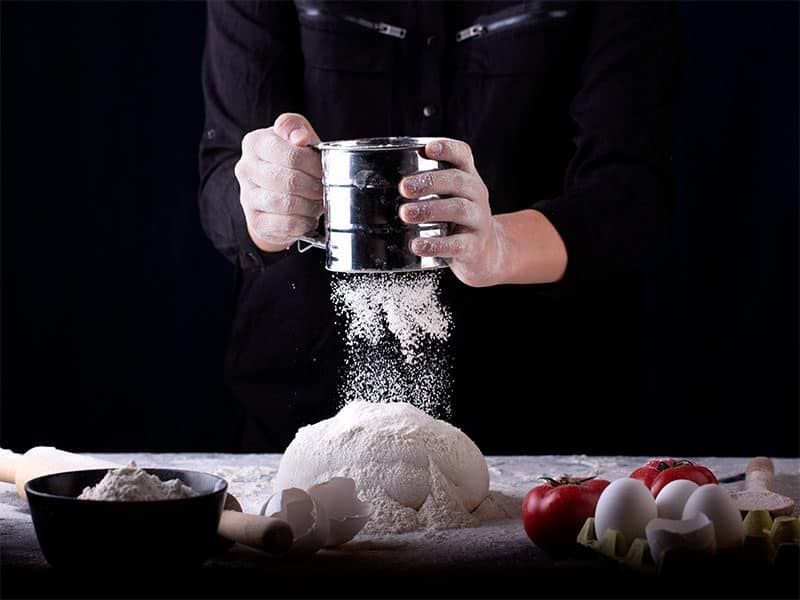
A flour sifter is a cup that consists of fine mesh and handles on the side. It has a simple but practical design and enables a user to filter the flour to provide better consistency. Sifter is different from the colander which has a larger mesh and can be used for draining fruits, pasta, and vegetables.
There are metal and plastic sifters in different sizes. Plastic sifters are easier to clean and use, but metal sifters last longer.
Types Of Sifters
There are two types of flour sifters – manual and electric devices. When you think about a sifter, you probably have an image of a manual sifter in your head. But, electric flour sifters have been on the market for a while now.
Manual Sifters
Manual flour sifters consist of two parts mesh screen, the flour is filtered through. Some models have a metal crank or squeeze mechanism.
For a crank model, you don’t have to put too much effort, but the squeeze sifter can be operated via one hand.
Electric Sifters
Electric sifter needs a power source to operate, which is usually batteries. All you have to do is press the button and the sifter will filter your flours.
An electric sifter is an excellent choice for professional bakers or people with some hand issues, such as arthritis.
These are practical and easy to use but come with a slightly higher price tag.
Is Sifting Necessary?
Sifting flour might seem like an additional step many home cooks would like to pass. However, dry ingredients such as different types of flour including almond flour, baking soda, cocoa powder, and others may form clumps in their packages.
In the following cooking process, these lumps may distort the amount of ingredients needed for the dough. Also, the lumps might not dissolve in the dough and cause firm spots and crunches after baking.
If you use gluten-free flour to prepare baked goods, sifting is an essential step. This flour can have more clumps than any other flour.
Using a kitchen scale instead of the cup-measuring system might help you get the perfect volume of flour. Still, unsifted flour can ruin the consistency of the batter.
Watch this video to know more….
How Often To Wash Flour Sifter?
If you don’t use flour sifter for anything else than flour, you don’t have to wash it that often. Wash the sifter if it hasn’t been used for a while, or if you use it often. If you store the sifter inside the kitchen cabinets, in a clean and dry location, you don’t have to wash it after every use. Washing the sifter after a couple of uses will be enough.
If you are a baker who uses a sifter every day, and stores it on the kitchen counter, you should wash it every day.
How To Clean A Flour Sifter: 7 Best Methods
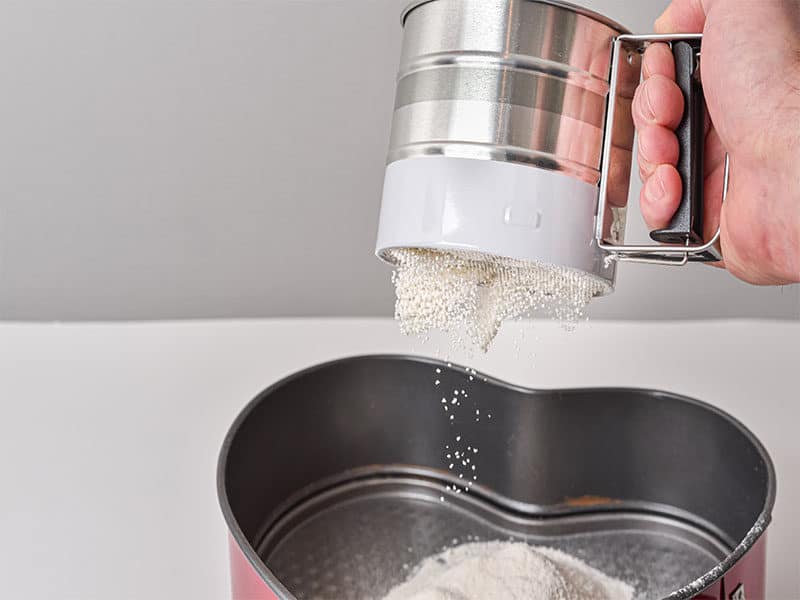
Cleaning the sifter is relatively easy if you apply the right methods and techniques. Some people have flour sifters that last for years and pass from one generation to another. Regular cleaning will not only improve the function of your flour sifter but will also prolong its lifespan.
Here are the best methods to clean a flour sifter.
Shaking It Off – After Every Use
The easiest but not the most effective way to clean a flour sifter is to shake the excess flour.
You can do it above the sink or trash can. All you have to do is hold the sifter with one hand and shake it gently. Use your other hand to bang the sifter lightly to loosen up flour leftover particles.
Complete the process several times until you don’t see the sifter is clean.
I recommend shaking the excess flour after every use. That way, you will reduce the need for thorough cleaning as the flour won’t stick in the sifter that much.
Even though the shaking method won’t clean the sifter thoroughly, it will help keep the sifter clean for longer.
Additionally, it won’t remove the flour lumps and crunches, but it will help prevent the new ones from appearing. After shaking it off, you can store the sifter in a plastic bag.
In A Dishwasher – Before Switching The Ingredients
The dishwasher method for cleaning flour sifter is effortless, but it doesn’t work for all models. Plastic sifters are safe for washing in the dishwasher.
I recommend placing the sifter on the top rack of your dishwasher and cleaning it with other dishes on the standard washing program. You can use a dishwasher method when you want to change the ingredients filtered through your sifter.
If you have used flour last time, and now you want to filter sugar powder, the dishwasher will be handy.
However, make sure that your sifter is completely dry before you continue to use it.
If you own a metal sifter, keep reading to find more useful methods for cleaning flour sifters.
Using Dish Soap And Water – For Manual Cleaning
If you have reached for dish soap and water, you are right. Sometimes, using a multipurpose kitchen sponge with scrubbing fibers will clean the sifter. Other times, you might need more effort or tools to ensure the necessary results.
To clean the sifter thoroughly with water and dish soap, you will need a large bowl, hot water, and your standard dish detergent.
Fill the bowl with hot water and dissolve two tablespoons of dish soap in it. Soak the sifter in the solution and let it sit for one hour.
By that time, the solution will break the flour lumps, and all you have to do is rinse the sifter under the sink and let it air dry.
Don’t leave the sifter soaked for too long, as it can result in opposite effects, and the flour particles may bond together to the sifter mesh.
If you still notice flour lumps after soaking, you can use an old toothbrush to scrub the sifter. Be gentle to avoid damaging the mesh net on your sifter, and rinse thoroughly.
Watch this video to know more….
Vacuum Cleaner – Quick Solution
My next recommendation is a bit unconventional but quite effective. The vacuum cleaner isn’t only for vacuuming the floor, you can use a tiny attachment or vacuum hose to remove flour leftovers from your flour sifter.
However, before you take your vacuum cleaner and start cleaning cookware, you need to clean the vacuum first. Make sure it is free of dust, and that brush doesn’t have hair or other particles stuck on it.
Start by setting your vacuum on a low setting and clean the sifter like that. If you don’t notice the results you expected, increase the suction power and use a brush with soft bristles to clean the sifter faster. Once you remove all the lumps, I recommend rinsing the sifter with hot water to remove any dirt that might have fallen from the vacuum cleaner.
White Vinegar And Soda – For Dried Flour Lumps
Using white vinegar and soda for cleaning kitchen tools and other household dirt is a clean, eco-friendly, and effective method. It can also help you clean old flour sifter and break dried flour lumps.
For this method, you have the best chances to be successful if you use hot white vinegar.
You will need a big bowl, or pot large enough to hold the sifter and enough amount of liquid to soak it.
Place the sifter in the bowl or pot and pour hot white vinegar enough to cover the places with the largest parts of dried lumps. Let the sifter sit in white vinegar for ten minutes and add one tablespoon of baking soda.
You will see bubbling and foaming as baking soda gets in contact with white vinegar.
Add one tablespoon of baking soda and let it do its magic one more time.
Leave the sifter in the white vinegar and baking soda mixture for ten more minutes, and rinse it under the sink.
Inspect the sifter for any lumps that haven’t been dissolved and repeat the process if you find any.
Toothpick Method – For Touch Ups
The toothpick method works as a touch-up after other methods, for example, after washing the sifter with soap and water. Technically, you can clean the entire sifter with a toothpick, but it will be time-consuming.
Inspect the sifter after cleaning and use a toothpick to break any leftover flour lumps manually. Because the lumps will remain in the sifter, you have to rinse it to remove them.
Besides, after you shake the excess flour after use, use a toothpick and take the lumps apart. That way, you can prolong the time between two thorough cleaning sessions.
Pressure Washing – Quick and Easy
Lastly, the method that works every time is using a pressure washer. The water blast will remove any dirt and lumps.
Set your pressure washer on low and keep the sifter a few inches away from the source of water. That way, you can prevent the fine mesh from damaging and still get the best results.
A pressure washer is an excellent way to clean the sifter without effort and added chemicals.
However, if your sifter is delicate or damaged, a pressure washer will just make more damage.
How To Clean Electric Flour Sifter?
Electric flour sifter doesn’t require washing so often. In most cases, these devices come with a washable bowl and mesh. Before you wash the parts, you need to disassemble the device following the manufacturer’s instructions. The bowl and the mesh are only washable parts of the sifter.
You should never soak the entire sifter in water, or wet the parts with electrical components. Wipe them clean with a dry cloth to remove any flour leftovers.
Once the bowl and mesh are completely dry, you can assemble them back, and use the device again.
Watch this video to know more….
How To Dry Flour Sifter After Cleaning?
Before you use your flour sifter, make sure it is completely dry. The wet sifter won’t complete its purpose as it will cause lumps. Here is how you can dry the sifter.
Air Dry
The easiest, but time-consuming method for drying the flour sifter is to let the sifter air dry. Turn the sifter upside down on the absorbing kitchen towel to let the sifter drain. Leave it like that for a couple of hours and check if it is completely dry before you pour flour into it. If possible, leave the sifter in the sun to speed up the drying process.
Hair Dryer
The quick and easy method for drying the flour sifter is using a hairdryer. Set it on high and dry the sifter, paying special attention to tight spaces.
Still, I recommend leaving the sifter on a dry rack overnight to make sure it completely dry before you start using it again.
When To Toss The Sifter And Get New One?
If you own a metal sifter, you should toss the sifter away when you notice it has been rusting. Rust particles can contaminate your food, so you should better get a new sifter than clean the old one.
Also, if you notice the mesh has been damaged in any way, I recommend getting a new one, because the damaged sifter won’t filter the flour properly.
Clean The Sifter And Get Perfect Dough Every Time
Don’t skip the flour sifting step, as it can help you measure the ingredients accurately by reducing the number of lumps in dry ingredients. Also, it will ensure better batter consistency which will result in delicious goods!
Clean the sifter regularly to keep it in good condition and prevent the lumps from clogging the fine mesh. Remember to dry the sifter completely before the next use!
How did you like my flour sifter cleaning guide?
If you find it useful, please like and share it with your friends and family.
Also, please let us know if you have any questions!

